Personalized Bulk Email Sending with Custom Images — Lemlist Guide
We’ve been using personalization across every area of digital marketing for a long time, and we know how important it is. But when sending bulk emails to existing customers, prospects, or people we’ve found for link building, the only personalization we usually do is addressing the recipient by name.

As you can see above, automatically generating images with the recipient’s name, using dozens of different variables for truly personalized bulk emails — it’s no longer difficult or time-consuming. In this article, I’ll walk you through using Lemlist to send bulk emails in a few easy steps.
Of course, addressing someone by name in a bulk email matters. But nearly everyone does that now, and recipients don’t believe you’ve actually invested time and effort to reach them. As a result, most emails get archived before they’re even read.
This drives us to look for alternative solutions. We’ve tried many tools for personalized emails, but Lemlist, which we currently use, is several steps ahead. With Lemlist you can do practically anything — add personalized images to your emails and define numerous variables.
Let’s use Lemlist to send a fully personalized bulk email.
1. Creating Your Contact List
First, think about what you’ll personalize in your bulk email, then build a spreadsheet accordingly. For this project, I’ll use the person’s name, company name, and a URL I found on their company website.
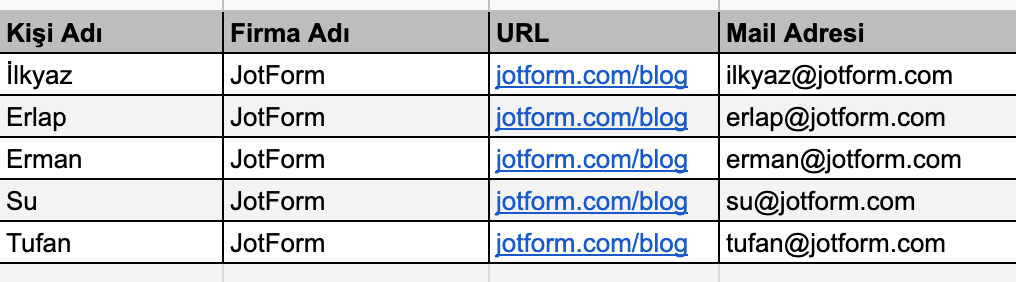
I created 5 contacts using Google Spreadsheets for this demo. The list could be much longer, but since we’re just learning the Lemlist workflow, I kept it short.
To find your recipients’ email addresses, check my email finding guide — I cover everything from Hunter.io to LinkedIn extensions in detail.
2. Using Lemlist
First, go to Lemlist.com and sign up. Unlike Hunter.io, you don’t need a business email — your personal Gmail works fine.
Note (2026 update): Lemlist’s pricing has changed significantly since I first wrote this. The Email Pro plan is now $69/month/user, and the Multichannel Expert plan is $99/month/user. Instead of the old limited trial, all plans now include a 14-day free trial (no credit card required). Lemlist also now includes lemwarm, a built-in email warmup tool — a serious advantage for reducing spam risk. For more on keeping emails out of spam, see my dedicated guide.
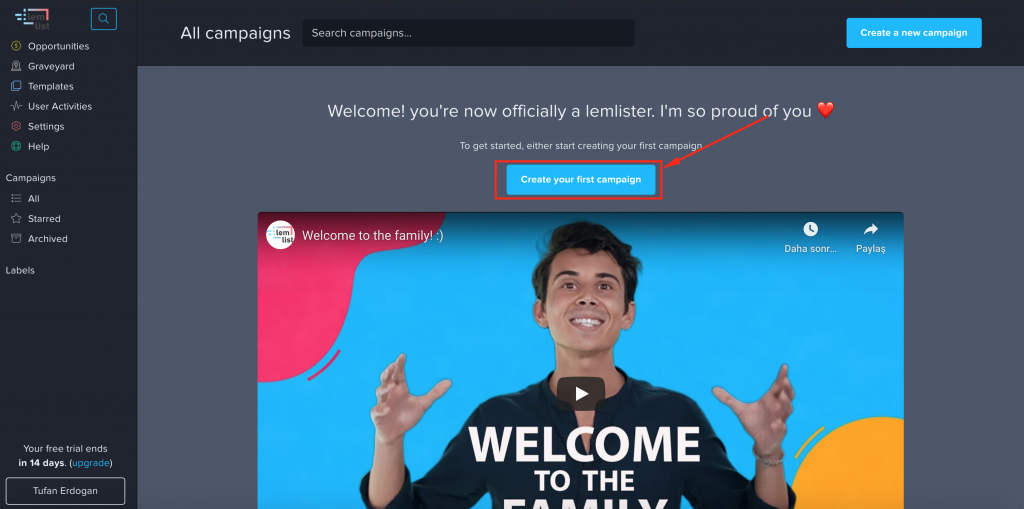
Click “Create your first campaign” on the welcome screen.
Note: I strongly recommend following Lemlist’s Blog and YouTube — they have excellent content on marketing and cold outreach.
Name your campaign, then click “Upload a CSV” to upload the spreadsheet data we created earlier (export it as .CSV).
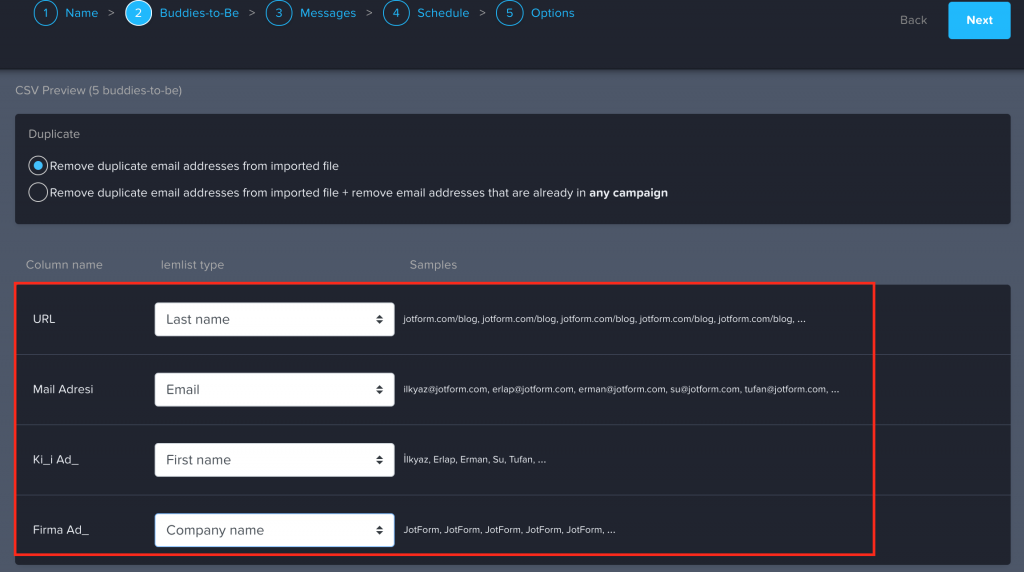
On the next screen, map the variables to match your spreadsheet columns.
Note: The free version doesn’t support custom variables, so I mapped the URL field to Lemlist’s “Last Name” default variable. Don’t get hung up on Lemlist’s default variable names — just remember which spreadsheet values you assigned to each variable.
3. Creating a Personalized Email with Custom Images
After mapping variables, you’ll see two options: “Template email” and “Blank Email.” I’ll choose “Blank Email” to better demonstrate the process, but I recommend exploring the template library — there are excellent examples.
For the subject line, we’ll personalize it with the person’s name and an emoji. Since we mapped the name to “First Name,” select “firstName” from Custom Variables.
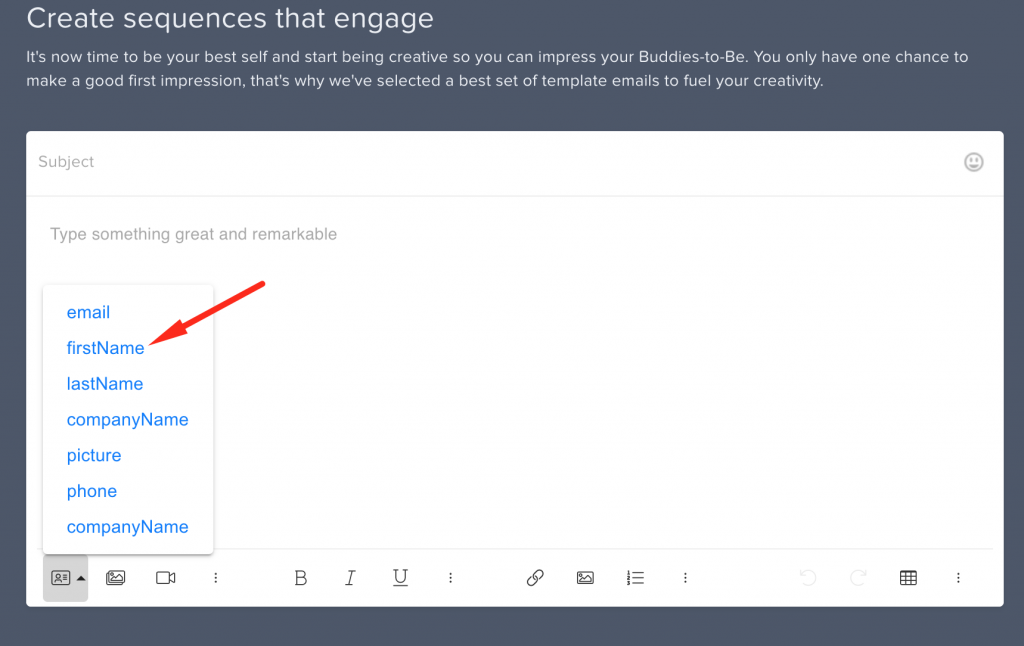
Next, use the “companyName” variable in the body, then add the image.
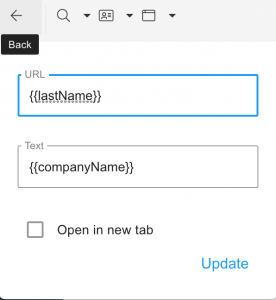
Note: You can stack variables. Remember, we saved the URL as LastName, so after entering {companyName} as text, we can also assign {lastName} in the same line.
To add the image, click “Image Templates” next to Custom Variables.
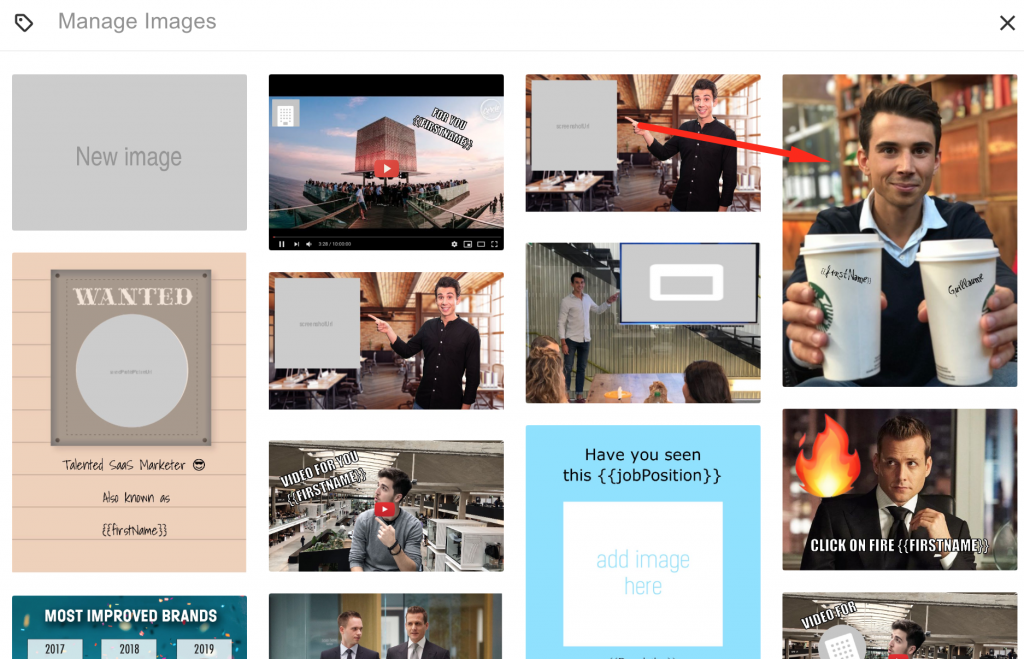
I chose the coffee image (missing Starbucks!), but you can select a different one or upload your own custom image.
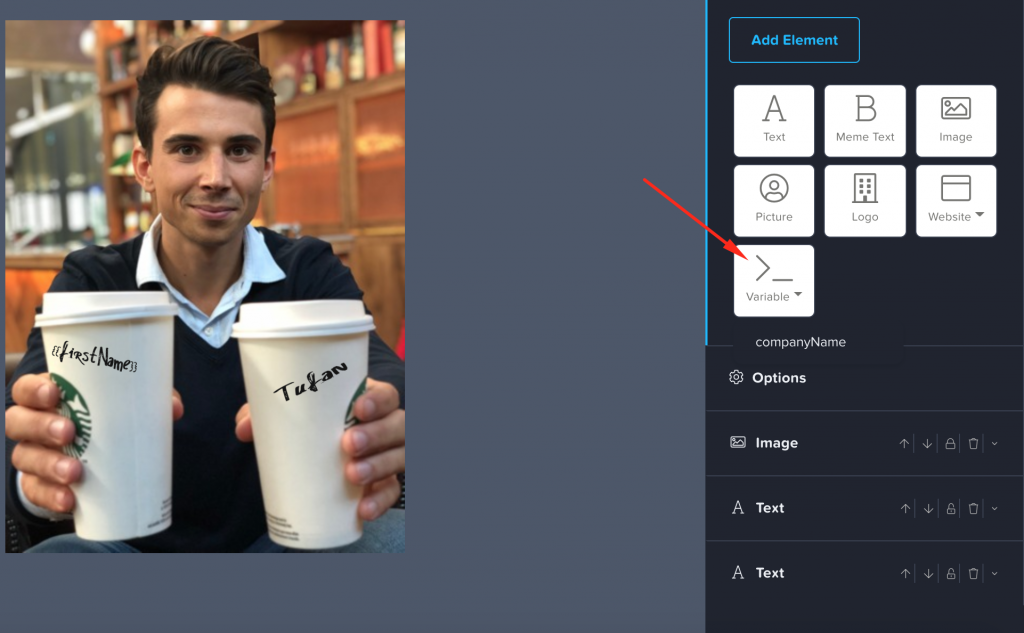
After adding the image, customize the variables on the photo — change fonts, colors, sizes, or add new variables.
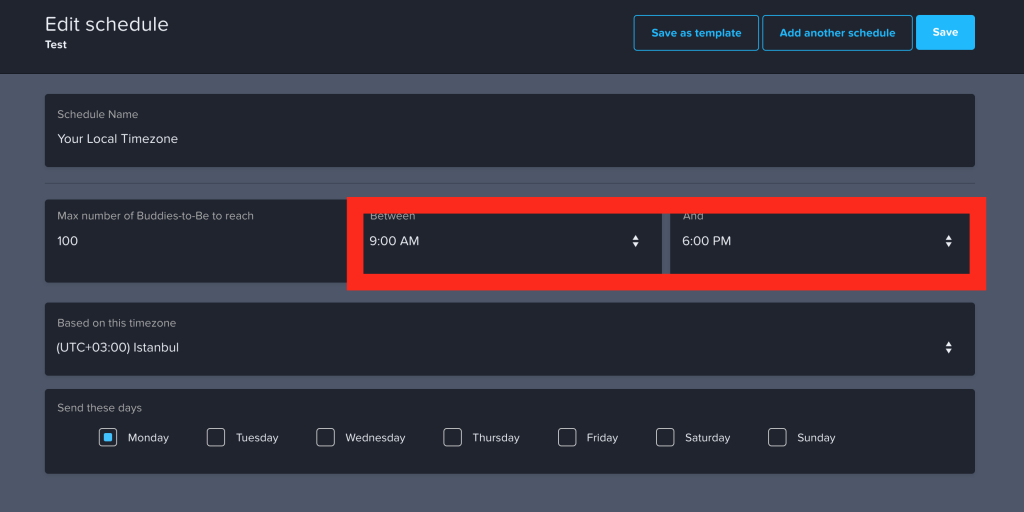
After customizing, go to the “Schedules” section to set when your emails will be sent. If you have a large list, make sure to use longer intervals between sends.
After configuring your email provider in Settings, review your emails and launch the campaign.
One more thing: If you don’t get a reply to your first email, don’t give up. Set up follow-up sequences in Lemlist — sending 2-3 follow-ups at 3-5 day intervals significantly increases response rates. In my own campaigns, the majority of replies come on the 2nd or 3rd follow-up.
I hope this guide was helpful. Don’t neglect personalization — it’s the most important factor in bulk email success.
To prevent your bulk emails from landing in spam, check out my SPF, DKIM, and DMARC guide.
Related Posts
If you found this useful, check out my other articles.
All Posts →